
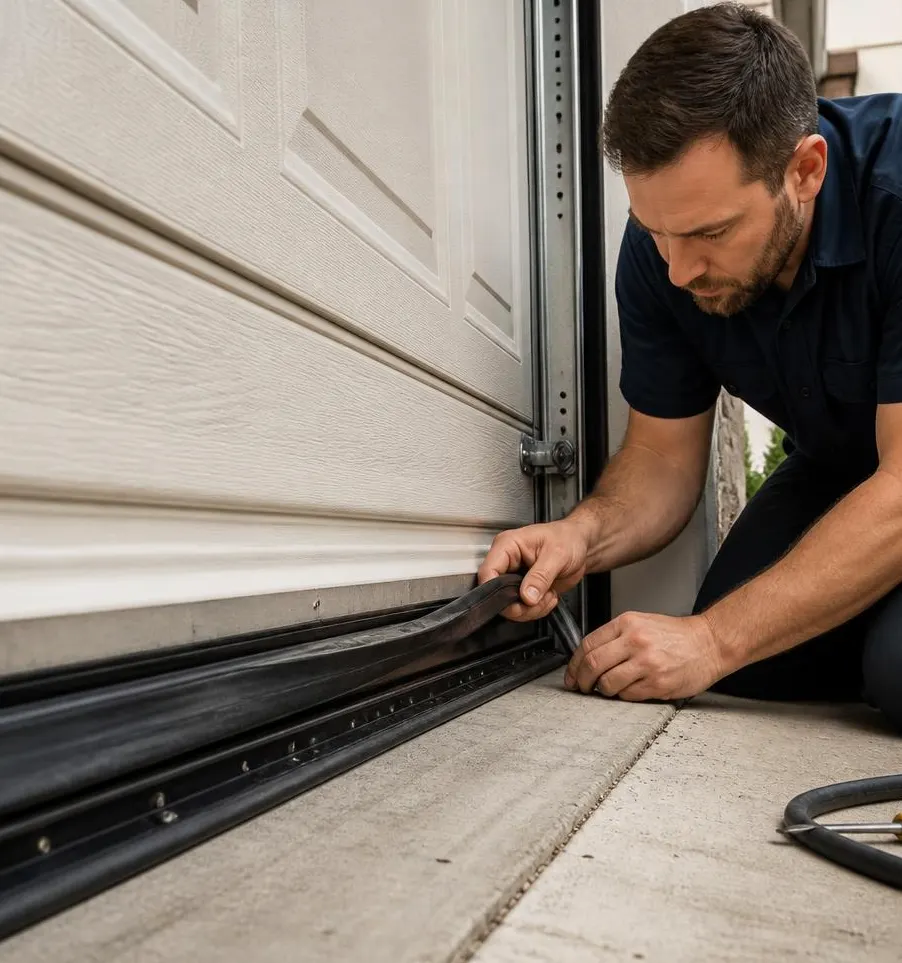
Skip garage door lubrication for one more season in South Florida and you're not just inviting a squeak. Humidity swells wood panels, salt-laden air pushes rust into hinges and rollers, and months of afternoon downpours mean your door has been opening and closing against grit and moisture buildup it was never designed to handle. A dry hinge forces your opener motor to work harder every single cycle. That extra strain wears down the gears faster, puts uneven pressure on cables and springs, and often ends with a spring snapping or a trolley gear stripping out, repairs that cost far more than a bottle of lubricant and twenty minutes of your time.
The good news: lubricating a garage door correctly is one of the few maintenance jobs a homeowner can safely handle. Here's how to do it right, and where the line is between a DIY task and a job for a technician.
Tools and Supplies You'll Need
- A silicone-based or lithium-based garage door lubricant spray (sold specifically for garage doors)
- A lint-free rag or microfiber cloth
- A soft-bristle brush or vacuum attachment
- Work gloves
- A sturdy stepladder
Products to Use vs. Products to Avoid
Use a silicone-based or white lithium grease spray made for garage door hardware. These are formulated to resist moisture, won't attract dust the way heavier grease does, and hold up well in humid conditions.
Avoid WD-40 as a lubricant. It's a solvent and light cleaner, not a lubricant, it evaporates quickly and leaves hinges dry again within days, especially in Florida's heat. Also skip regular motor oil or household 3-in-1 oil, which is too thin to hold up under the door's weight and tends to drip onto tracks and floors. Thick axle grease or petroleum jelly should stay off your list too; it collects dust and sand, forming a gritty paste that grinds down moving parts instead of protecting them.
Step-by-Step Lubrication Guide
- Disconnect the opener. Close the door, then pull the emergency release cord so you can move the door by hand without the motor engaging. Unplug the opener for safety.
- Clean before you lubricate. Wipe down tracks, hinges, and rollers with a dry cloth to remove dust, pollen, and grime. Spraying lubricant over dirt just creates a sticky buildup that attracts more debris.
- Inspect hardware as you go. Look for rust spots, cracked rollers, frayed cable strands, or bent hinges. Note anything that looks worn, you'll want to flag it rather than lubricate over it.
- Lubricate the hinges. Spray a light coat directly onto each hinge pivot point, then work the door up and down a few inches by hand so the lubricant settles into the joint.
- Lubricate the rollers. If you have steel rollers with exposed bearings, spray the bearing, not the wheel surface. Nylon rollers with sealed bearings generally don't need lubrication, just wipe them down.
- Skip the tracks. Never spray lubricant directly on the tracks. This attracts dirt and can actually make rollers slip. Tracks only need cleaning, not lubricating.
- Lightly coat the springs. With the door fully closed and the opener still disconnected, apply a thin coat of lubricant along the length of the torsion or extension springs. This is a light, hands-off wipe-down, not an adjustment. Never attempt to tighten, loosen, or reposition a spring yourself.
- Lubricate the opener's chain or screw rail. A small amount keeps the drive mechanism running smoothly and quietly.
- Treat the lock mechanism. If your door has a manual lock, a light spray keeps the tumbler from sticking in humid weather.
- Reconnect the opener and test. Run the door through a full open-close cycle, listening for grinding, popping, or uneven movement.
What's Safe for You, What Needs a Technician
Homeowners can safely clean and lubricate hinges, rollers, chains, screw rails, and locks, and wipe down springs with the door closed and the opener disconnected. That's the extent of safe hands-on work.
Call a technician if you notice rust eating into spring coils, frayed or kinked cables, a door that's off its track, bent track sections, grinding noises that don't improve after lubrication, or a door that feels unbalanced when moved by hand. Springs under tension, cable replacement, and track realignment all carry real injury risk and require the right tools to do safely.
When to Call Kendall Garage Door Repair
If your lubrication routine turns up a rusted spring, a frayed cable, or a door that's noticeably harder to lift than it used to be, it's time to call in a professional before those small issues turn into a stuck or unsafe door. Our Garage Door Maintenance & Tune-Up service covers a full inspection of springs, cables, rollers, and hardware, catching the wear and tear that salt air and humidity cause before it becomes a breakdown. If a spring has already lost its tension or snapped, our Garage Door Spring Repair service gets it replaced safely and your door balanced correctly again.
If you're in Kendall, Pinecrest, The Hammocks, Palmetto Bay, Cutler Bay, South Miami, Homestead, or Coral Gables and your garage door needs more than a bottle of lubricant, give Kendall Garage Door Repair a call. We'll get it running smoothly and safely before the next season of South Florida weather puts it to the test.